I love learning about video and film making. Below is my reflection on a video project I worked on this summer & early fall to help tell the story of a friend who is a scholarship recipient working on her PhD (w/ some technical jargon):
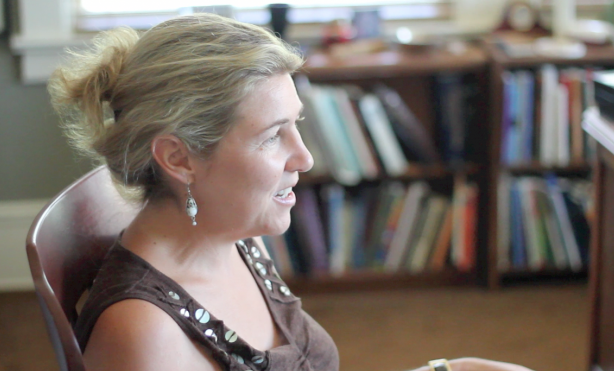
THE PROJECT: This summer I was able to travel out to Sacramento, CA for Youth 2011, an every-4-year gathering of United Methodist youth ages 13-18 to help represent Collegiate Ministry. While out in California we had a little side project…a VIDEO project. Our task was to help capture and tell the story of Rev. Kristin Stoneking–Campus Minister and Director of the CA House at the University of California in Davis, CA. She has received the Bishop James C. Baker Scholarship which aids United Methodist collegiate ministers in advanced degree or doctoral studies.
(BELOW THE VIDEO IS MY ‘THE MAKING OF’ PORTION)
Special thanks to Kristin and the CA House as well as Allyson Collinsworth of Scholarships and Loans at the General Board of Higher Education and Ministry of the United Methodist Church. Interview, filming, and editing by Michael McCord & Joseph McBrayer.
THE SETTING: The CA house is a remarkable residential, intentional, and mutli-faith community in Davis where students live, learn, and serve together. It is a really neat, older house that has some cool spaces in it. For the interview we decided to use her office (looks scholarly–just out of focus books are always a nice background). The office is located on the second floor of the house and faces south out over a main road that runs beside campus. The natural light was good but we wanted a little extra so we took the lampshade off of a desklamp and moved it closer. In interviews, the best way I’ve seen to frame the shot is to put the subject’s head in the top-left or top-right quadrant with them looking across the line-of-sight of the camera to the interviewer–it is supposed to help the viewer to feel more like they are there–like they are just sitting on the couch next to the interviewer. Kristin sat in a classic wooden chair like the kind you’d purchase from your alma mater and we framed the shot of her from just above the waist up (allowing for some hand movement when she raised her hands to gesture, but not when they were at rest).
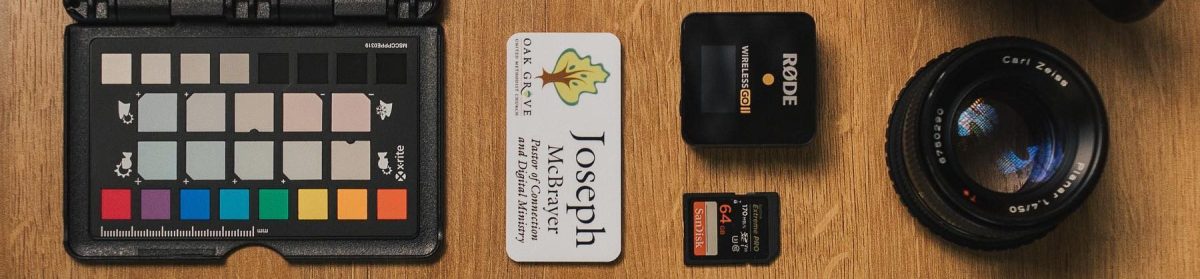
CAMERAS & AUDIO: For the interview we used a standard sony HD camera that our agency provided shooting in 1080 at 30 frames per second–this is the camera mounted on a tripod, which framed the standard “interview” shot. This camera also received the audio off of the wired lapel mic (a low-end Audio-Technica lapel mic). In video, audio is one of the MOST overlooked and neglected things. To me, audio is just as important as the video…well, its at least very important. For the second camera I used my Canon 60D DSLR shooting 1080 video at 30 fps (the camera has manual ISO & aperture settings which I used at 1.8 and 60–you most often want the ISO to be at least double the fps). I shot this video off to the left side of the subject using a shoulder mount (Cowboy Studio’s $30: plastic, lightweight, & affordable!) and the built in audio (which I removed from the clip afterward). The idea of the second camera in this situation was for us to give the video some live-feeling movement (very popular in film, tv, commercials, etc) and to utilize the out of focus caused by the shallow depth of field in the DSLR lens (a 1.8 50mm Canon lens).
DURING FILMING: While we were filming we just let the camera on the tripod roll the whole time so that we’d capture anything we said that could be helpful (this is ideal when filming interviews as some side comments may end up being quite sincere and be full of wisdom or little sound bites that prove useful). For the shoulder mounted camera I broke up the filming into two big chunks (the whole interview lasted only around 20 mins) as I had to set down the camera a few times to help fix the lapel mic. One of the big things for the interviewers to remember during an interview (especially one where the subject is the only one on camera) is to resist the temptation to agree or comment on what the subject says while the subject is still speaking or too quickly after they finish. The main reason is so that the subject finishing what they were saying and you don’t have to go back to take out audio because the interviewer agreed, applauded, or sighed–especially if the interviewer is not in the shot or the video at all. Another helpful thing is for the interviewer to think on your feet to hear something that the subject said that was especially good or where they may have stumbled on a word–in either case, ask them to rephrase or “could you say that again”–this ‘on the fly’ thought process is especially helpful if you have one person filming and one person interviewing.
B-ROLL: Before and after we filmed the interview Rev. Kristin gave us a tour of the CA House and the residential spaces behind the main house. We filmed with the DSLR & shoulder mount the whole tour looking for moments that might make good cutaways while Kristin was speaking. The B-roll before the interview was based upon what Kristin was showing us and her explaining the community (giving us a sense of the space & context with which to better ask questions) and after the interview was based upon what she said in the interview (specifically focusing on things she’d spoken about that ‘jumped out’ to us after the interview).
POST-FILMING & EDITING: This is the hardest part. Editing and working with the video you’ve captured is likely one of the hardest parts because *most times* the video you have is all you’ll have to work with. Moral: take LOTS of video on location. On occasion you can go out and re-create something that might work well to supplement an element that you’re missing, but in the majority of situations it is all about what you have on your hard drive or camera at the end of the shoot. I use iMovie (w/ the ‘advanced features’ turned ON) to create most all of the videos I work on–again, I’m not a professional and I’m still pretty slow using Final Cut. This project was challenging in part because we were creating it for another section of our organization (Scholarships and Loans). We communicated the goals, constraints, content, and needs of the project before we filmed it—and after the interview we worked closely by email to discern and collaborate on how the project proceeded. There were 2 draft versions of the video which helped us to reach the final version of the interview and the comments and ideas generated from the first two drafts helped the final version to be more polished, more engaging, and better edited.
Well, that’s all…and that was a LOT. I hope that it might be helpful for those who are interested in filming and interviews–especially in the non-profit realm of the world. Feel free to contact me for more info or to collaborate on a project. There is a wealth of resources in the area of ‘how to’ and there are many excellent film makers out there helping to ‘tell the story’ of all the amazing things that are happening out there. May it continue.
